Setting up Taxes
In this guide, you will learn how to setup your taxes according to your country’s requirement. You will also learn how to configure tax rate on different countries.
To configure your tax settings in nopCommerce, go to Configuration > Settings > Tax Settings.
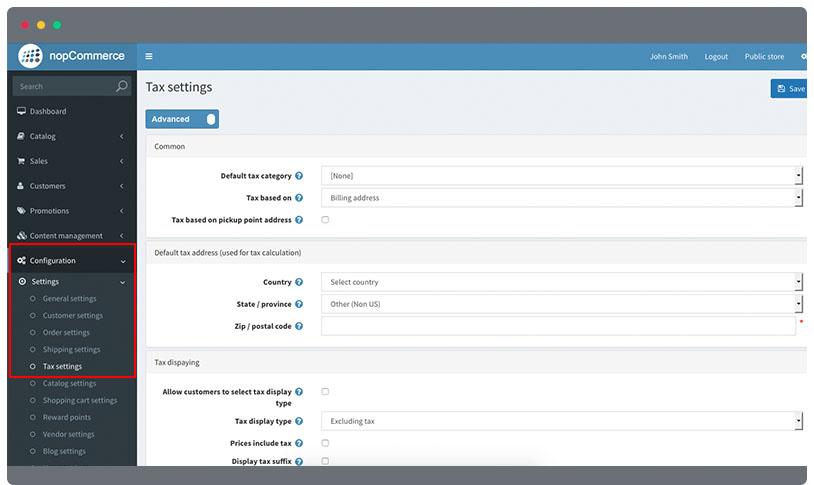
Common tax setting
- Set your Default Tax Category by choosing in the dropdown.
- Set the tax that will be base on. The choices are the Default Address, Shipping Address or Billing Address of the customer.
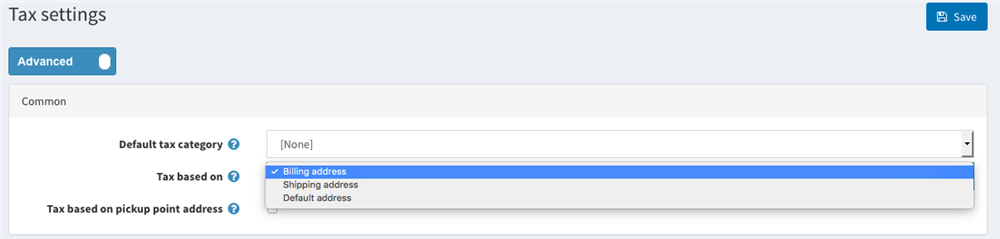
- Check if the Tax calculation will be based on pickup point address.
Default tax address setting
This will be used for tax calculation
- Set your Country by choosing in the dropdown.
- Set State/Province
- Enter the Zip/Postal Code.
Tax display
- Set if you Allow customers to select tax display type.
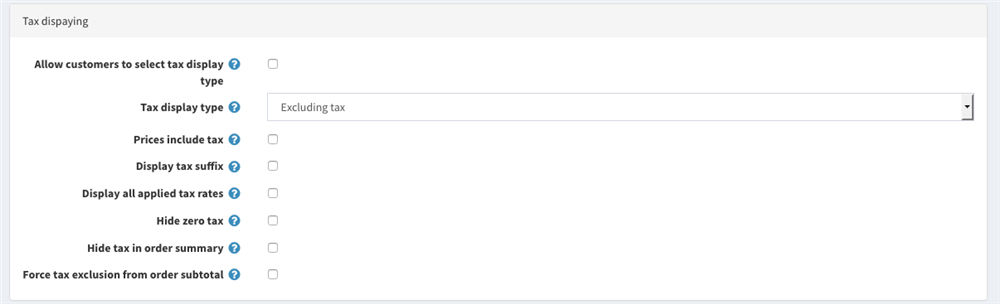
- Choose in the dropdown the Tax display tape. If the Allow customers to select tax display type is checked, this option is not shown.
- Mark the Prices include tax checkbox if you want the the prices to include tax.
- Mark Display tax suffix checkbox. This will show “incl tax / excl tax”
- Mark Display all applied tax rates checkbox if each tax rate should be displayed on a separate line in the shopping cart page.
- Mark Hide zero tax if you do not want to display it in the order summary.
- Mark Hide tax in order summary checkbox if you want to hide tax in order summary when the prices are shown as tax inclusive.
- Mark the checkbox in Force tax exclusion from order subtotal to always exclude the tax from the order subtotal no matter what type of selected tax display type. This setting will only effect on pages where order totals are being displayed.
Shipping
- Mark Shipping is taxable checkbox if you want the shipping is taxable.
Payment
- Set the Payment method additional fee is taxable option if there is a taxable option in the additional fees of the payment method used.
VAT
- Set the EU VAT enabled if you need to European Value Added Tax to be implement in your nopCommerce store.
Adding Tax Providers
Go to Configuration > Tax > Tax Providers.
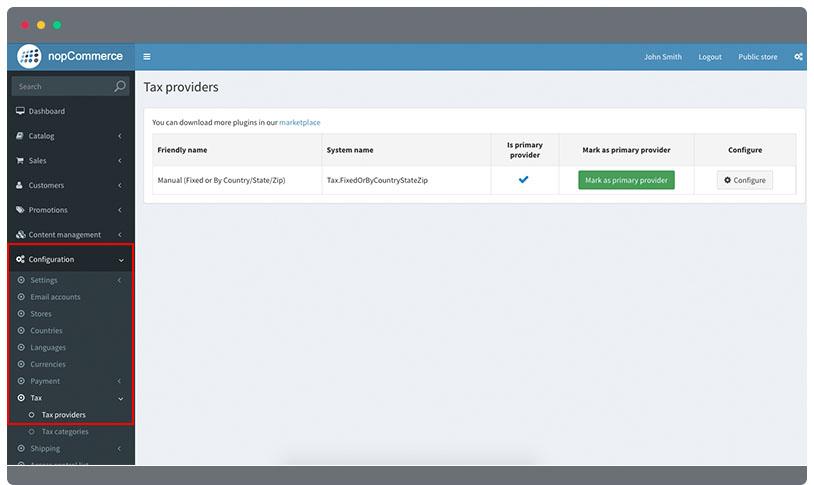
There is only a one tax rate provider that can be used for tax calculation. Adding a new tax providers is recommended only for advanced users.
To Configure the default tax provider settings, follow these steps:
- Click the Configure button on the right side corner
- You can choose two options by sliding the button
 . These options are:
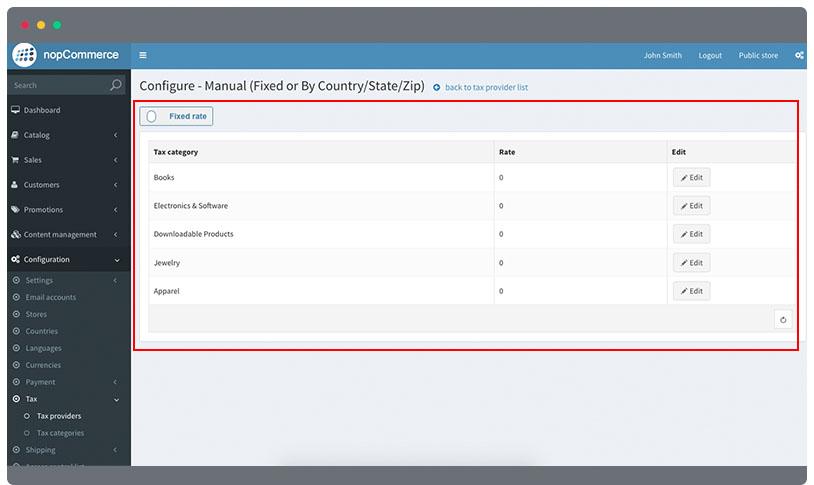
- Fixed Rate
You can set up a tax rate on each category you’ve added. Please see guide on how to add a tax category
- To add tax rate for each category, click Edit button in the right corner
- Enter value for your tax rate or use the up and down option.
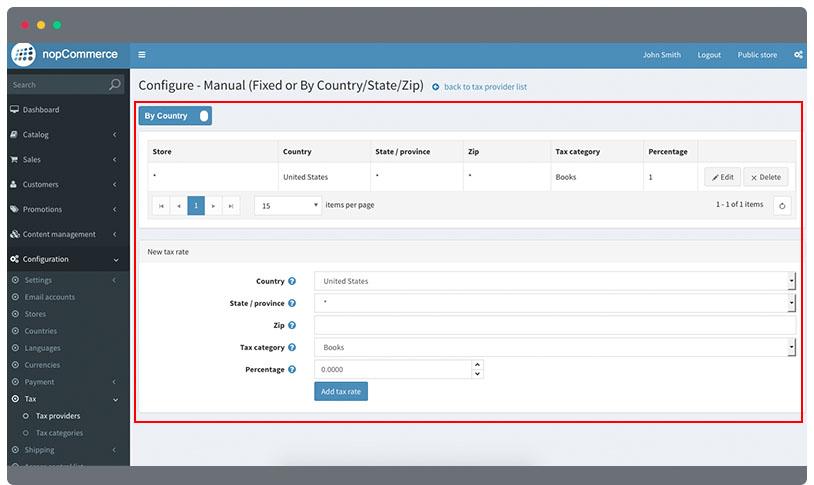
- By country
You can set up a tax rate on different countries.
- Enter Country.
- Choose State/Province
- Enter Zip code.
- Choose the tax category.
- Enter your tax percentage value.
- Click Add tax rate button.
Adding Tax Category
This setting is for product categories that you want to add a tax rate in your nopCommerce store.
Go to Configuration > Tax > Tax Category.
- Click Add new record button
- Enter the name of the category you want to add.
- Enter Display order.