Setting up nopCommerce Store
The Store’s setting is located in the control panel. This will help you customize NopCommerce features and functionality based on your business needs. To make it easier for you, the default store settings has been already optimized and configured for you.
If you wish to change the settings, you can go to Configuration → Stores. Click Edit beside a default store to configure it.
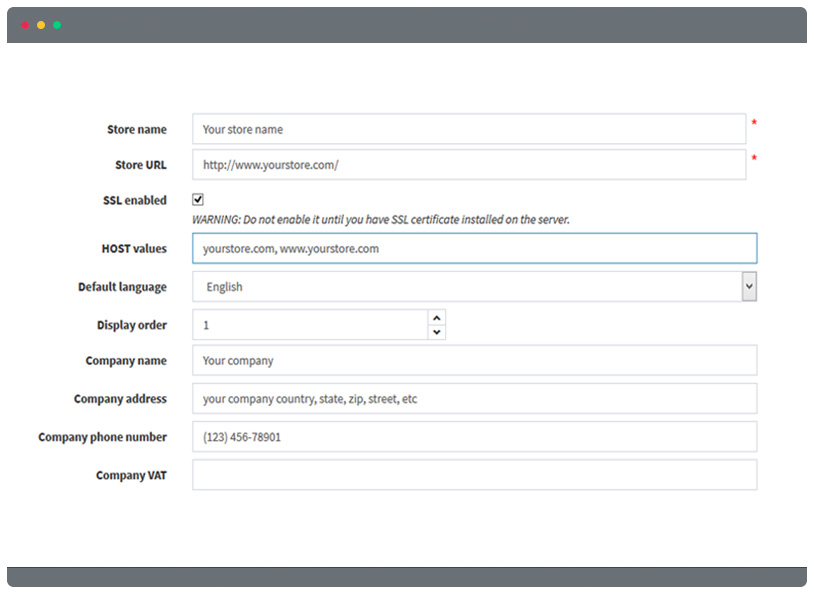
You can have the following options to change:
- Store name
- Store URL
- SSl Enable. This will require a dedicated SSL.
- The HOST values field is required only when you have a multi-store solution.
- Default Language
- Company name
- Company address
- Company phone number
- Company VAT (used in EU)
Setting up Multiple-Store (optional)
If you have a Multi-Store, NopCommerce have an option to let you enable run more than one store. This allows you to manage different domains and operations in one single control panel.
To set up multiple stores go to Configuration → Stores and click Add new.
Note: The Multi-store option (distinction of stores by HTTP_HOST) does not work for sites in virtual directories of the same domain.
For example, you have www.store1.com & www.store2.com, you need to upload and install your site in www.store1.com. It is the only place where nopCommerce files and DLLS are stored.
This next step is the crucial stage. In the control panel of your hosting in www.store2.com , make sure that all requests are forwarded to www.store1.com. Use the CNAME records.
Next step is from the control panel of www.store1.com, configure a domain alias for your www.store2.com. If this step is difficult for you, you can ask your administrator to perform this step for you.
After successfully completing the steps, when you enter the www.store2.com in the browser, the content from www.store1.com will be the one showing. You can then configure the stores in the admin area and you can start uploading contents for both store.
There is also another way to setup both of your stores through Plesk control panel (optional). You can have this by following this steps:
- When www.store2.com is redirected to www.store1.com, the web server for Plesk does not know how to display www.store2.com since it uses Name-Based Virtual Hosting. Therefore, you must create a domain alias for www.store2.com, as described below:
- Log in to the domain panel of www.store1.com, either directly or via the Open in Control Panel link from the server administration panel.
- From the Websites & Domains tab, select the Add New Domain Alias link near the bottom of the tab.
- Enter the full alias. For example - store2.com.
- Ensure the Web service option is selected.
- The Mail service is optional. Check this option if you want emails from www.store2.com to be redirected in a similar way.
- Ensure the Synchronize DNS zone with the primary domain option is unchecked.
Once the installation and technical setup are done, you can manage your stores from the administration area. Go to Configuration → Stores.
Once you are done with setting up your multi-store, you can change options to change on your created store. These are:
- Store name
- Store URL
- SSl Enable. This will require a dedicated SSL.
- The HOST values field is required only when you have a multi-store solution.
- Default Language
- Company name
- Company address
- Company phone number
- Company VAT (used in EU)
You can add another store by clicking the Add new button and filling up the similar fields.
Security Settings
This is an essential setup needed to make sure that your website is secured. This is for both back-end and store security. To start, you can go to Security Settings (Configuration → Settings → General Settings)
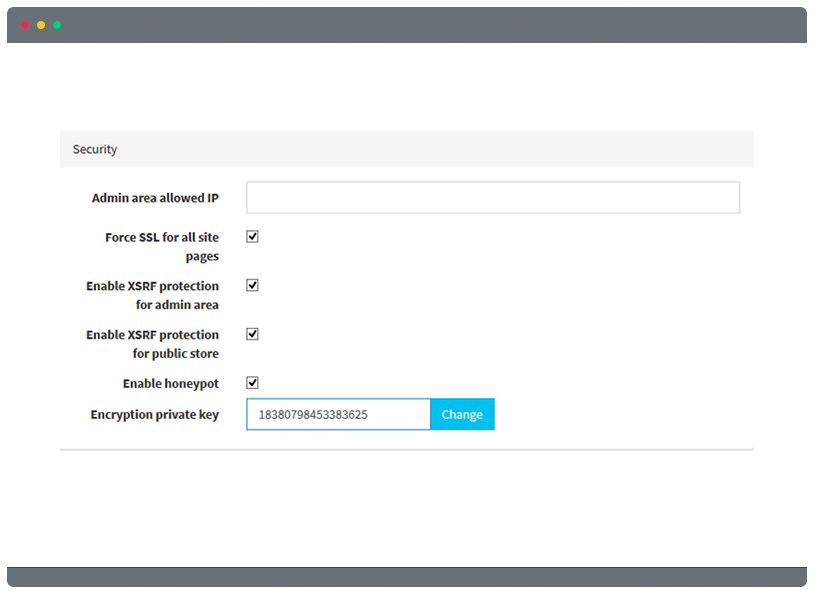
The Security Settings:
- In the Admin area allowed IP field, enter the IP addresses that are allowed to access the backend. Leave this field empty if you do not want to restrict access to the backend. Use commas between the IP addresses (for example, 127.0.0.10, 232.18.204.16).
- Check the box in the Force SSL for all site Pages to enforce SSL for the entire site. This is useful only when you have SSL enabled on your store details pages.
- Check the box in the Enable XSRF protection for admin area to enable XSRF security for all pages in the admin area. Cross-site request forgery, also known as a one-click attack or session riding and abbreviated as CSRF (sometimes pronounced sea-surf) or XSRF, is a type of malicious exploit of a website whereby unauthorized commands are transmitted from a user that the website trusts.
- Check the box in the Enable XSRF protection for public store to enable XSRF security for pages in the public store. Cross-site request forgery, also known as a one-click attack or session riding and abbreviated as CSRF (sometimes pronounced sea-surf) or XSRF, is a type of malicious exploit of a website whereby unauthorized commands are transmitted from a user that the website trusts.
- Check the box in the Enable honeypot to enable honeypot. It is a computer term which means it is a trap that set to detect, deflect, or, in some manner, counteract attempts of unauthorized use of information systems.
- In the Encryption private key field, enter the encryption private key used for storing sensitive data. Click Change at any time to change this key. All sensitive data is encrypted using this private key.
Launch Tip: ALWAYS make a backup of your database before changing the encryption key. Sensitive data includes all credit card information (only when this credit card information is stored in the store database).
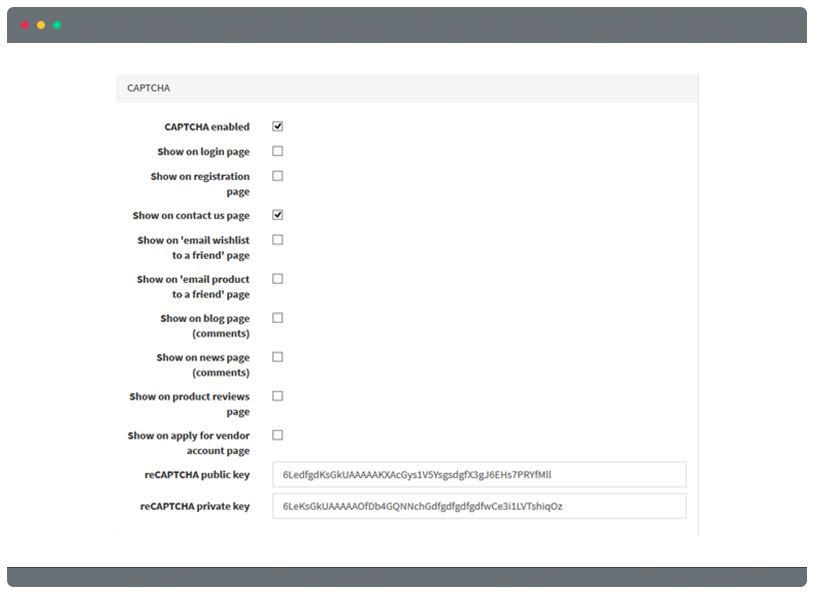
Re-Captcha option in the settings is for reducing spam attacks in your website.
Setting Up Email Accounts
Email Accounts is vital in your business. It is where you can reach out to your customers. In this section, we will give you guidance to setup your email accounts with your store domain. G SUITE, Office 365, GODADDY and other different email hostings services is where you need to setup your email address.
Along with setting up you can also have an additional features like webmail, filters, and spam filtering.
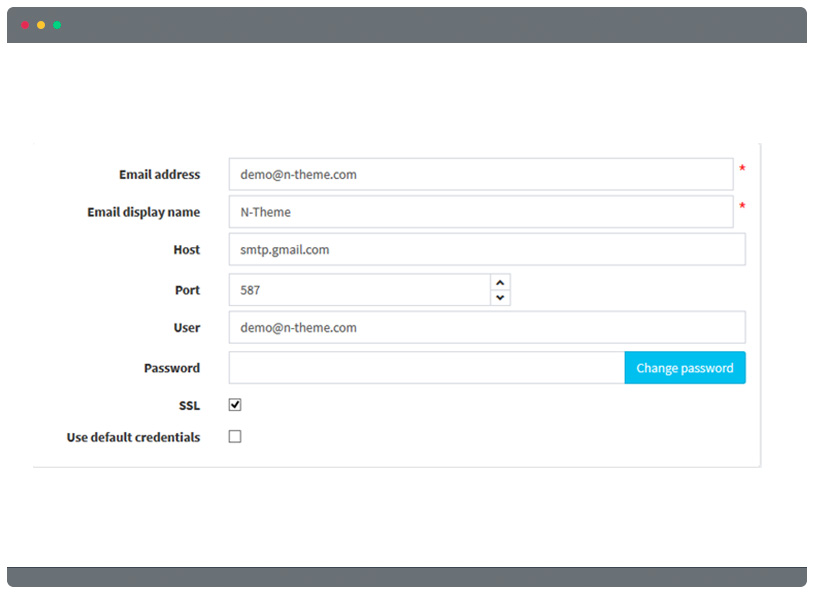
To setup, you need to specify the following:
- In the Email Address field enter the from email address for all outgoing emails of your store. Example, [email protected].
- In the Email Display Name field, enter the displayed name for outgoing emails of your store. Example, Your Store Sales Department.
- In the Host field, enter the host name of IP address of your email server.
- In the Port field, enter the SMTP port of your email server.
- In the User field, enter the user name of your email server.
- In the Password field, enter the password of your email server.
- Select the Enable SLL checkbox, to use Security Sockets Layer to encrypt the SMTP connection.
- Select the Use default credentials checkbox, to use default credentials for the connection.
After filling up all the information needed, Click Save.
In the Send email to field, enter the email address for the test email and click Send Test Email.
Message templates
Transactional email templates are really convenient to use and saves time. You can have more time to work on more important things within your admin area.

To create message templates you can go to Content management → Message templates. After that, you can define the layout, content, and formatting of automated messages sent from your store. Each one of the templates are associated with a specific type of transaction.
There are several message templates available in nopCommerce by default to notify users about order statuses and so on.
The language used by default is English only. You can attach a static file which will be sent with each email.
NopCommerce SEO Settings
SEO is not only to boost traffic and sales to your business but also it is a way of communicating and reaching out to other people who search in Google to answer their questions. If you have a well-optimized site, you’ll rank higher in search results and increase the chance of a potential shopper finding and shopping with you.
In NopCommerce, there is a general SEO settings that can be applied. You can go to
Configuration → Settings → General Settings
Optimization of your nopCommerce store is a regular process as search engines constantly surveying the internet to index and rank pages.
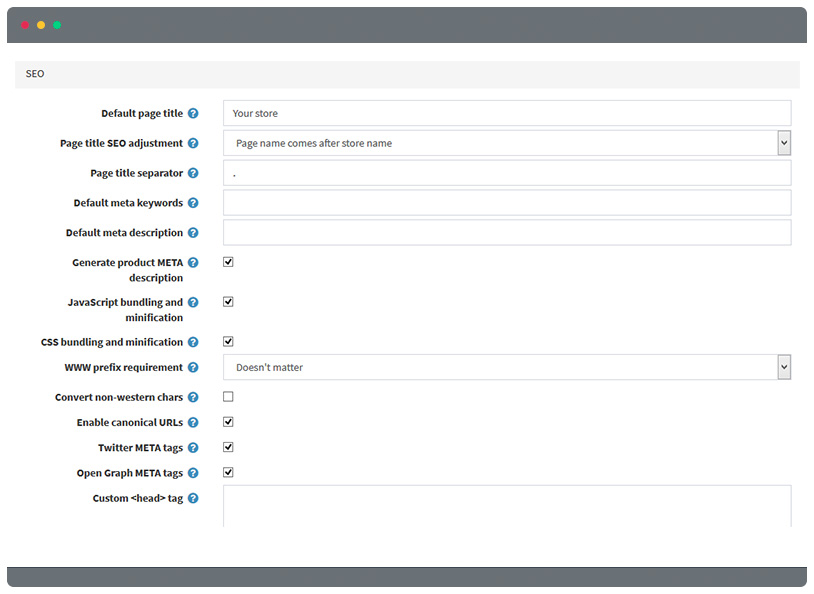
Nopcommerce seo settings: nopCommerce supports SEO techniques for different types of pages in your store: Default title, Default meta description and keywords, Generate product META description, Enable canonical URL’s.
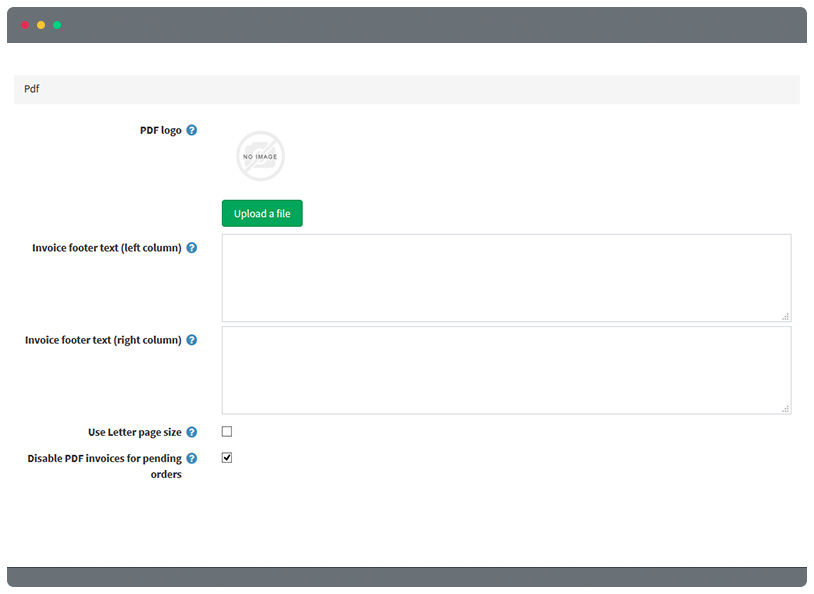
PDF Settings
This serves as a receipt to your customers order. This consists of customers order details. To setup the PDF, you can go to Configuration → Settings → General Settings.
When running a store you might need automatically generated PDF files, like invoices and terms of agreement.