Orders
To setup orders settings in nopCommerce, go to Configuration > Settings > Order Settings and then Order Settings tab.
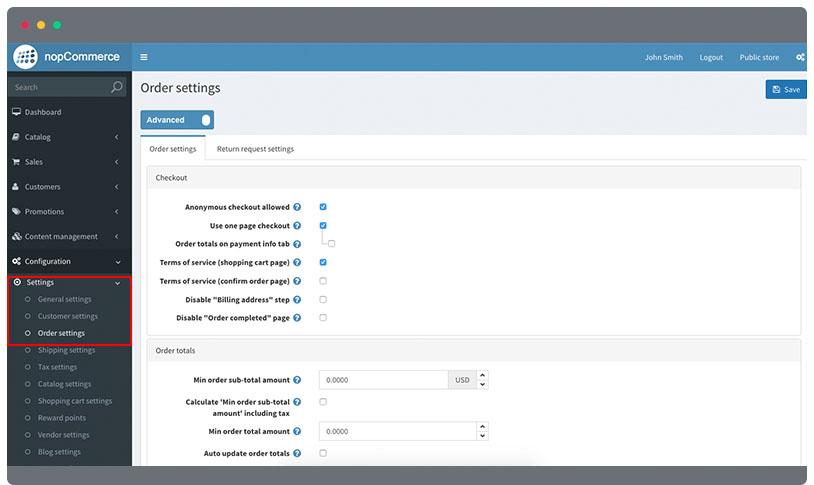
- Mark the Anonymous checkout allowed to allow checkout anonymously.
- Mark the Use one page checkout if you want to use a one page checkout in your nopCommerce store.
- If you want to display the order totals, check the Order totals on payment info tab.
- Check the Terms of service (shopping cart page) for the terms to show for the shopping cart page.
- Check the Terms of service (confirm order page) for the terms in order page.
- Mark to Disable "Billing address" step if necessary
- Mark to Disable "Order completed" page if necessary
- Enter value for your Min order sub-total amount.
- Mark Calculate 'Min order sub-total amount' including tax if necessary.
- Enter Min order total amount.
- Mark the Auto update order totals checkbox to make it update automatically
- Set the Order ID if you want the orders will start in a certain number.
- Set an Order number mask. This is when you want to create a custom order number or otherwise leave it blank if you don’t want to use custom numbers.
- Following are the guide to create your custom order number:
- {YYYY} - year of order creation date
- {YY} - last two digits of year of order creation date
- {MM} - month of order creation date
- {DD} - day of order creation date
- {ID} - Order identifier
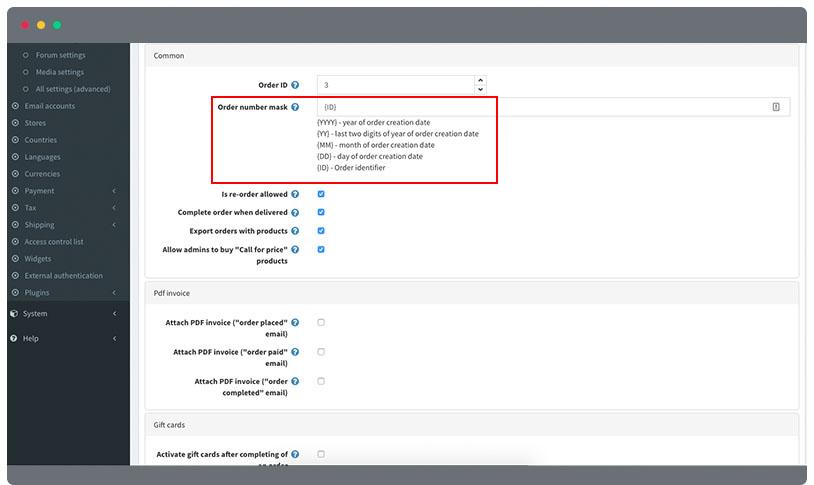
- Check Is re-order allowed.
- Check Complete order when delivered.
- Mark the Export orders with products.
- Check to Allow "Call for price" products. This is to allow administration to buy products marked as “Call for price”.
- Mark the Attach PDF invoice ("order placed" email) if necessary.
- Mark the Attach PDF invoice ("order paid" email) if necessary
- Attach PDF invoice ("order completed" email) if necessary
- Check the Activate gift cards after completing of an order if necessary.
- Check the Deactivate gift cards after cancelling of an order if necessary
- Check the Deactivate gift cards after deleting of an order if necessary.
To check your product orders, go to Sales > Orders.
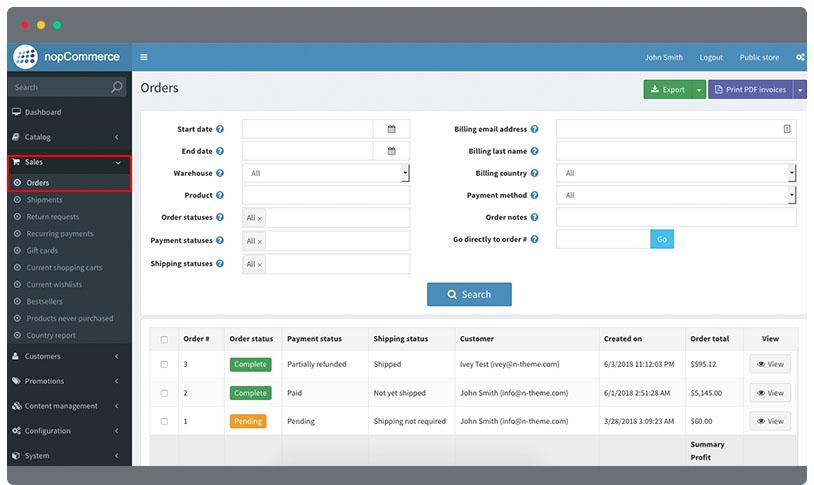
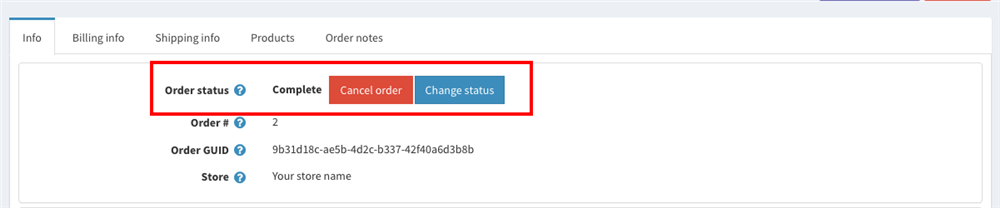
In this section you can check the order status of the customers and change it if the orders have been completed.
- Click the View button in the right corner.
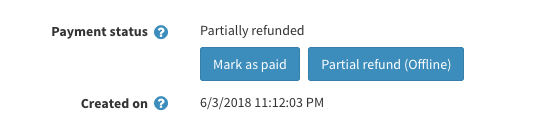
- In the Info Tab, you can see the order status, customer information and the payment status.
- In the Order Status, you can change the status by clicking the Change status button. This option is advised for advanced users only.
- A dropdown will show and give you option to select. The options are Pending, Processing, Complete and Cancelled. Select one of the options depending on the state of the customers order.
- After choosing, click Save button.
- You also have the option to cancel order. Click the Cancel order button to cancel the order.
- You can edit the total orders by clicking the Edit order totals button. This is an option where you can enter the order’s excluding or including taxes in your order totals. Here are the lists of options you can enter a value:
- Order subtotal
- incl tax amount: the tax are covered in the subtotal amount
- excl tax amount: the tax are not included in the subtotal amount. This will subtract to your total order amount.
- Order subtotal discount
- incl tax amount: the tax is covered in the subtotal discount amount.
- excl tax: the tax is not included in the subtotal discount amount. This will subtract to your total order amount.
- Order shipping
- incl tax: the tax is covered in the order shipping.
- excl tax: the tax is not included in the order shipping thus subtracting it to your order totals.
- Payment method additional fee
- incl tax: the tax is covered in the payment method.
- excl tax: the tax is not included in the payment thus subtracting it to your order totals.
- Enter the amount of the order tax rate. To setup, [rate];[taxtotal] where they are separated by semicolons.
- Enter the total amount of Order tax.
- Enter the amount of the Order discount.
- Enter the total amount of overall Order.

- Click Save order total button to save your changes.
- For the payment status, select whether the order is been fully paid or need to be refunded.
- When there is a partial refund, click the button Partial refund.
- A pop-up will appear and in the Amount to refund, enter the amount needed to be refunded to the customer.
- Click Refund button.
- Go to the Billing info tab if you want to edit the details.
- Click the Edit button.
- Change the following values if needed:
- First name
- Last name
- Email
- Company
- Country
- State / province
- City
- Address 1
- Address 2
- Zip / postal code
- Phone number
- Fax number
- Click Save button in the top right corner
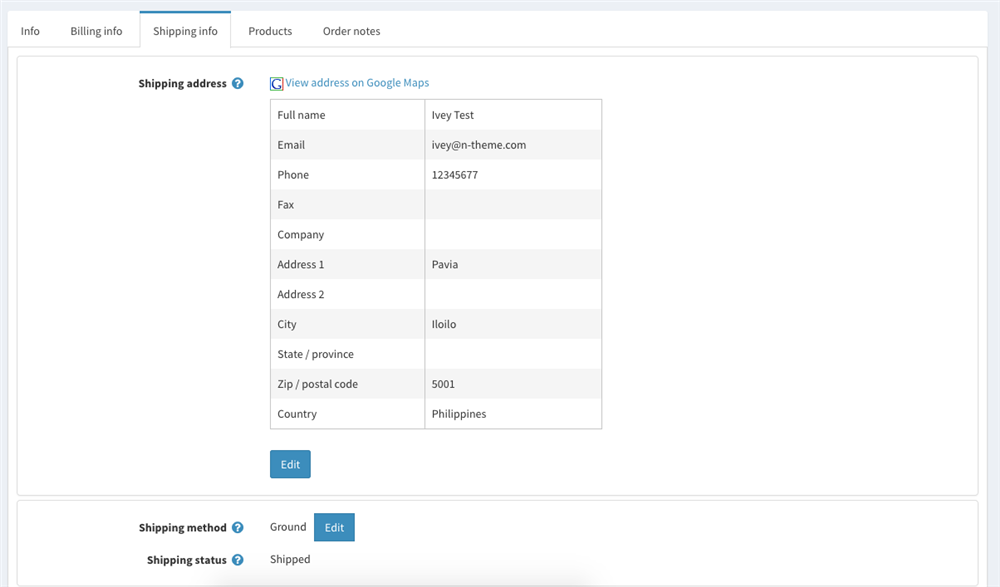
- Go to the Shipping info tab if you want to edit the details.
- Click the Edit button.
- Change the following values if needed:
- First name
- Last name
- Email
- Company
- Country
- State / province
- City
- Address 1
- Address 2
- Zip / postal code
- Phone number
- Fax number
- Click Save button in the top right corner
- Go to the Products Tab if you want to add or change details in the products the customer ordered.
Edit Products
- Click the Edit button in the right corner.
- Enter values you need to change in the following values:
- Price taxes. This is where you enter amount for the including tax or excluding tax value
- Product quantity. You can change the item quantity ordered in a product.
- Discount tax. You can enter amount for the discount.
- Total tax. You can enter tax amount value for the total amount ordered.
- Click Save.
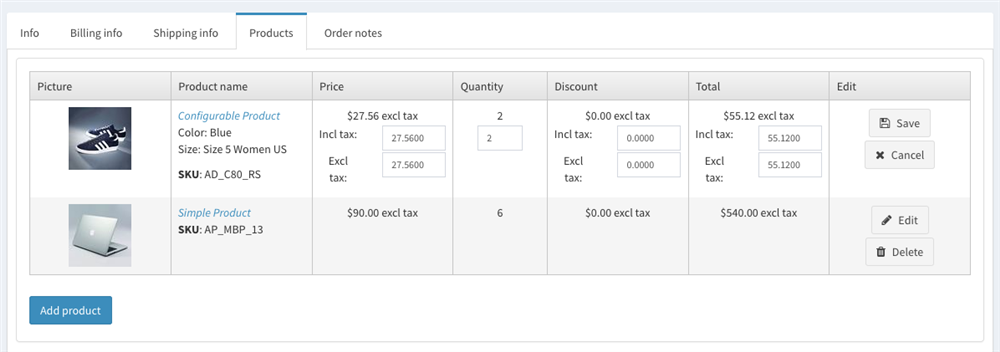
Add Products
- Click the Add product button in the lower left corner.
- Select products listed by clicking the Select button in the left corner.
- Enter values on the following:
- Price (incl tax)
- Price (excl tax)
- Quantity
- Total (incl tax)
- Total (excl tax)
- Recipient's Name
- Recipient's Email
- Sender's Name
- Sender's Email
- Message
- Click Add product button.
- Go to Info tab.
- Click the Edit total orders button to update the total amount for the order in the Order total section.
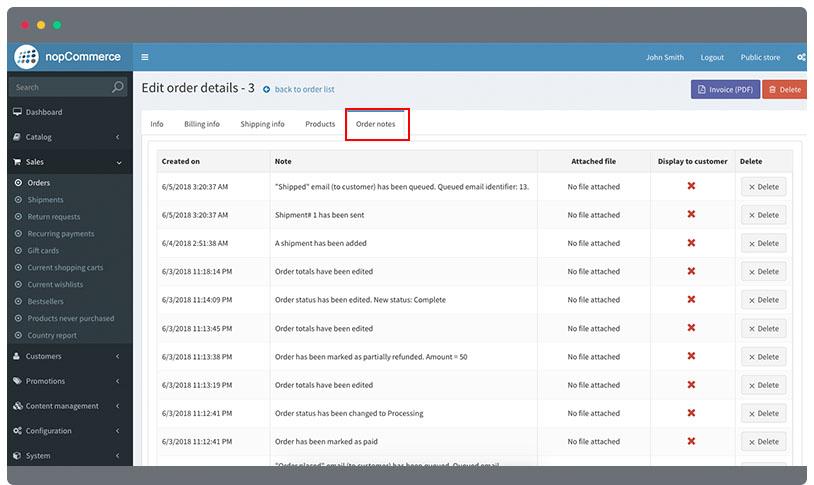
- Go to the Order note tab to see history of changes in the order of the product.
- Enter your order notes in the Note section
- Mark Attached file checkbox if you want to upload a file.
- Mark the Display to customer checkbox to show order notes to the customers.
- Click Add order note button.
- You can also delete generated order notes if needed. Click Delete button in the right corner.
Shipment
When a customer is done with the payment, you can now process the shipment of the orders. Here is the guide to add shipments to orders.
- Go to Sales > Order.
- In the list of orders, find the one that you will add shipment to. Click the View button in the right corner.
- Go to the Shipping Info tab.
- Scroll down to the bottom to find the Shipment section.
- Click the Add Shipment button
- Enter the Tracking Number.
- Enter Admin Comment.
- Edit the product quantity in the right corner.
- Click Save & Continue button.
- Click Set as shipped button when the shipment is done.
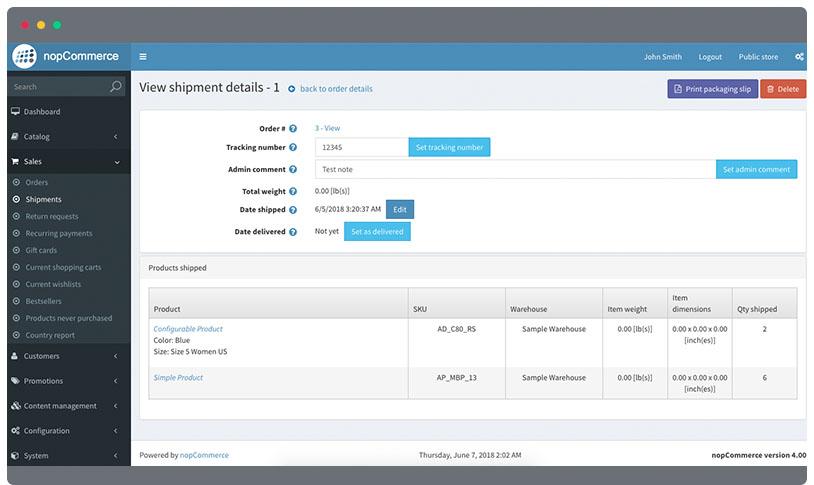
You can find the list of shipments from an order when you go to the Sales > Order > Shipping info tab
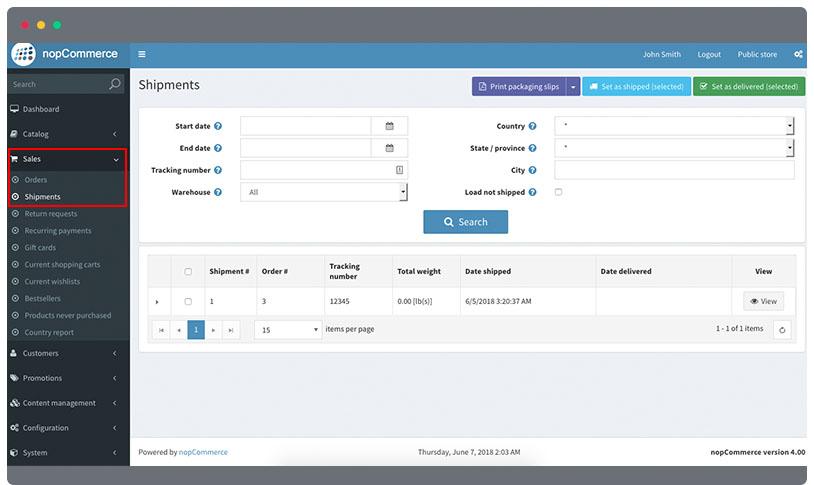
- You can see the shipping information of the customer, the shipping method used, and the shipping status which currently show as Not yet shipped.
- In the Shipment section located below, you can see the list of shipment.
- Click View button in the right corner.
- Enter the Tracking number of the current shipment.
- Add your admin comment if there is any.
- Total Weight is the overall total weight amount of the product. You can set the product weight in the product’s shipping section in the Catalog > Product.
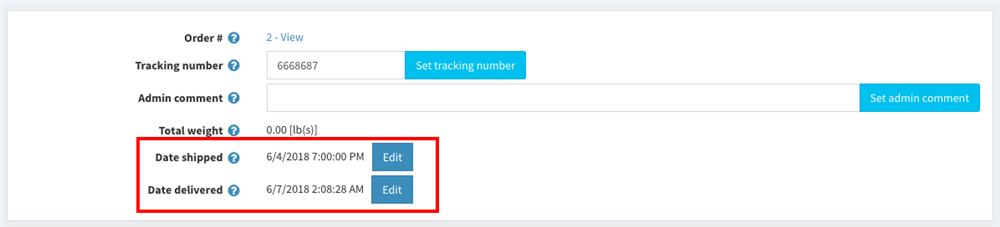
- Date Shipped will show if the shipment is set. You can click the button Set as shipped to set.
- Date delivered is when the shipment package has been delivered to the customer. You can set the delivered status when the shipment was set. You can do this by clicking the Set as delivered button.

- If you want to print the the packaging slip, click the Print packaging slip button in top right corner.
- After this, go back to the shipping info tab and you will find that the shipping status has been changed to Delivered.
- In the Info tab, the Order status will also be changed to Complete when the shipment is done.